Cuttlefish Bone Casting
Following on from many demonstrations of cuttlefish bone casting, I’ve re-drafted a 2021 presentation from Pecha Kucha at Sovereign Hill Ballarat to provide you with insight into my art through the practice of this ancient technique.
I’ve practiced cuttlefish bone casting and used it in my contemporary jewellery since the late 1990’s when I moved to the Mornington Peninsula. Many of the images and text here I have drawn from the questions that I get asked (often repeatedly) when demonstrating the technique.
One of the reasons I love cuttlefish bone casting is that it gives me the opportunity to make one off works of art with their own unique structure and detail.
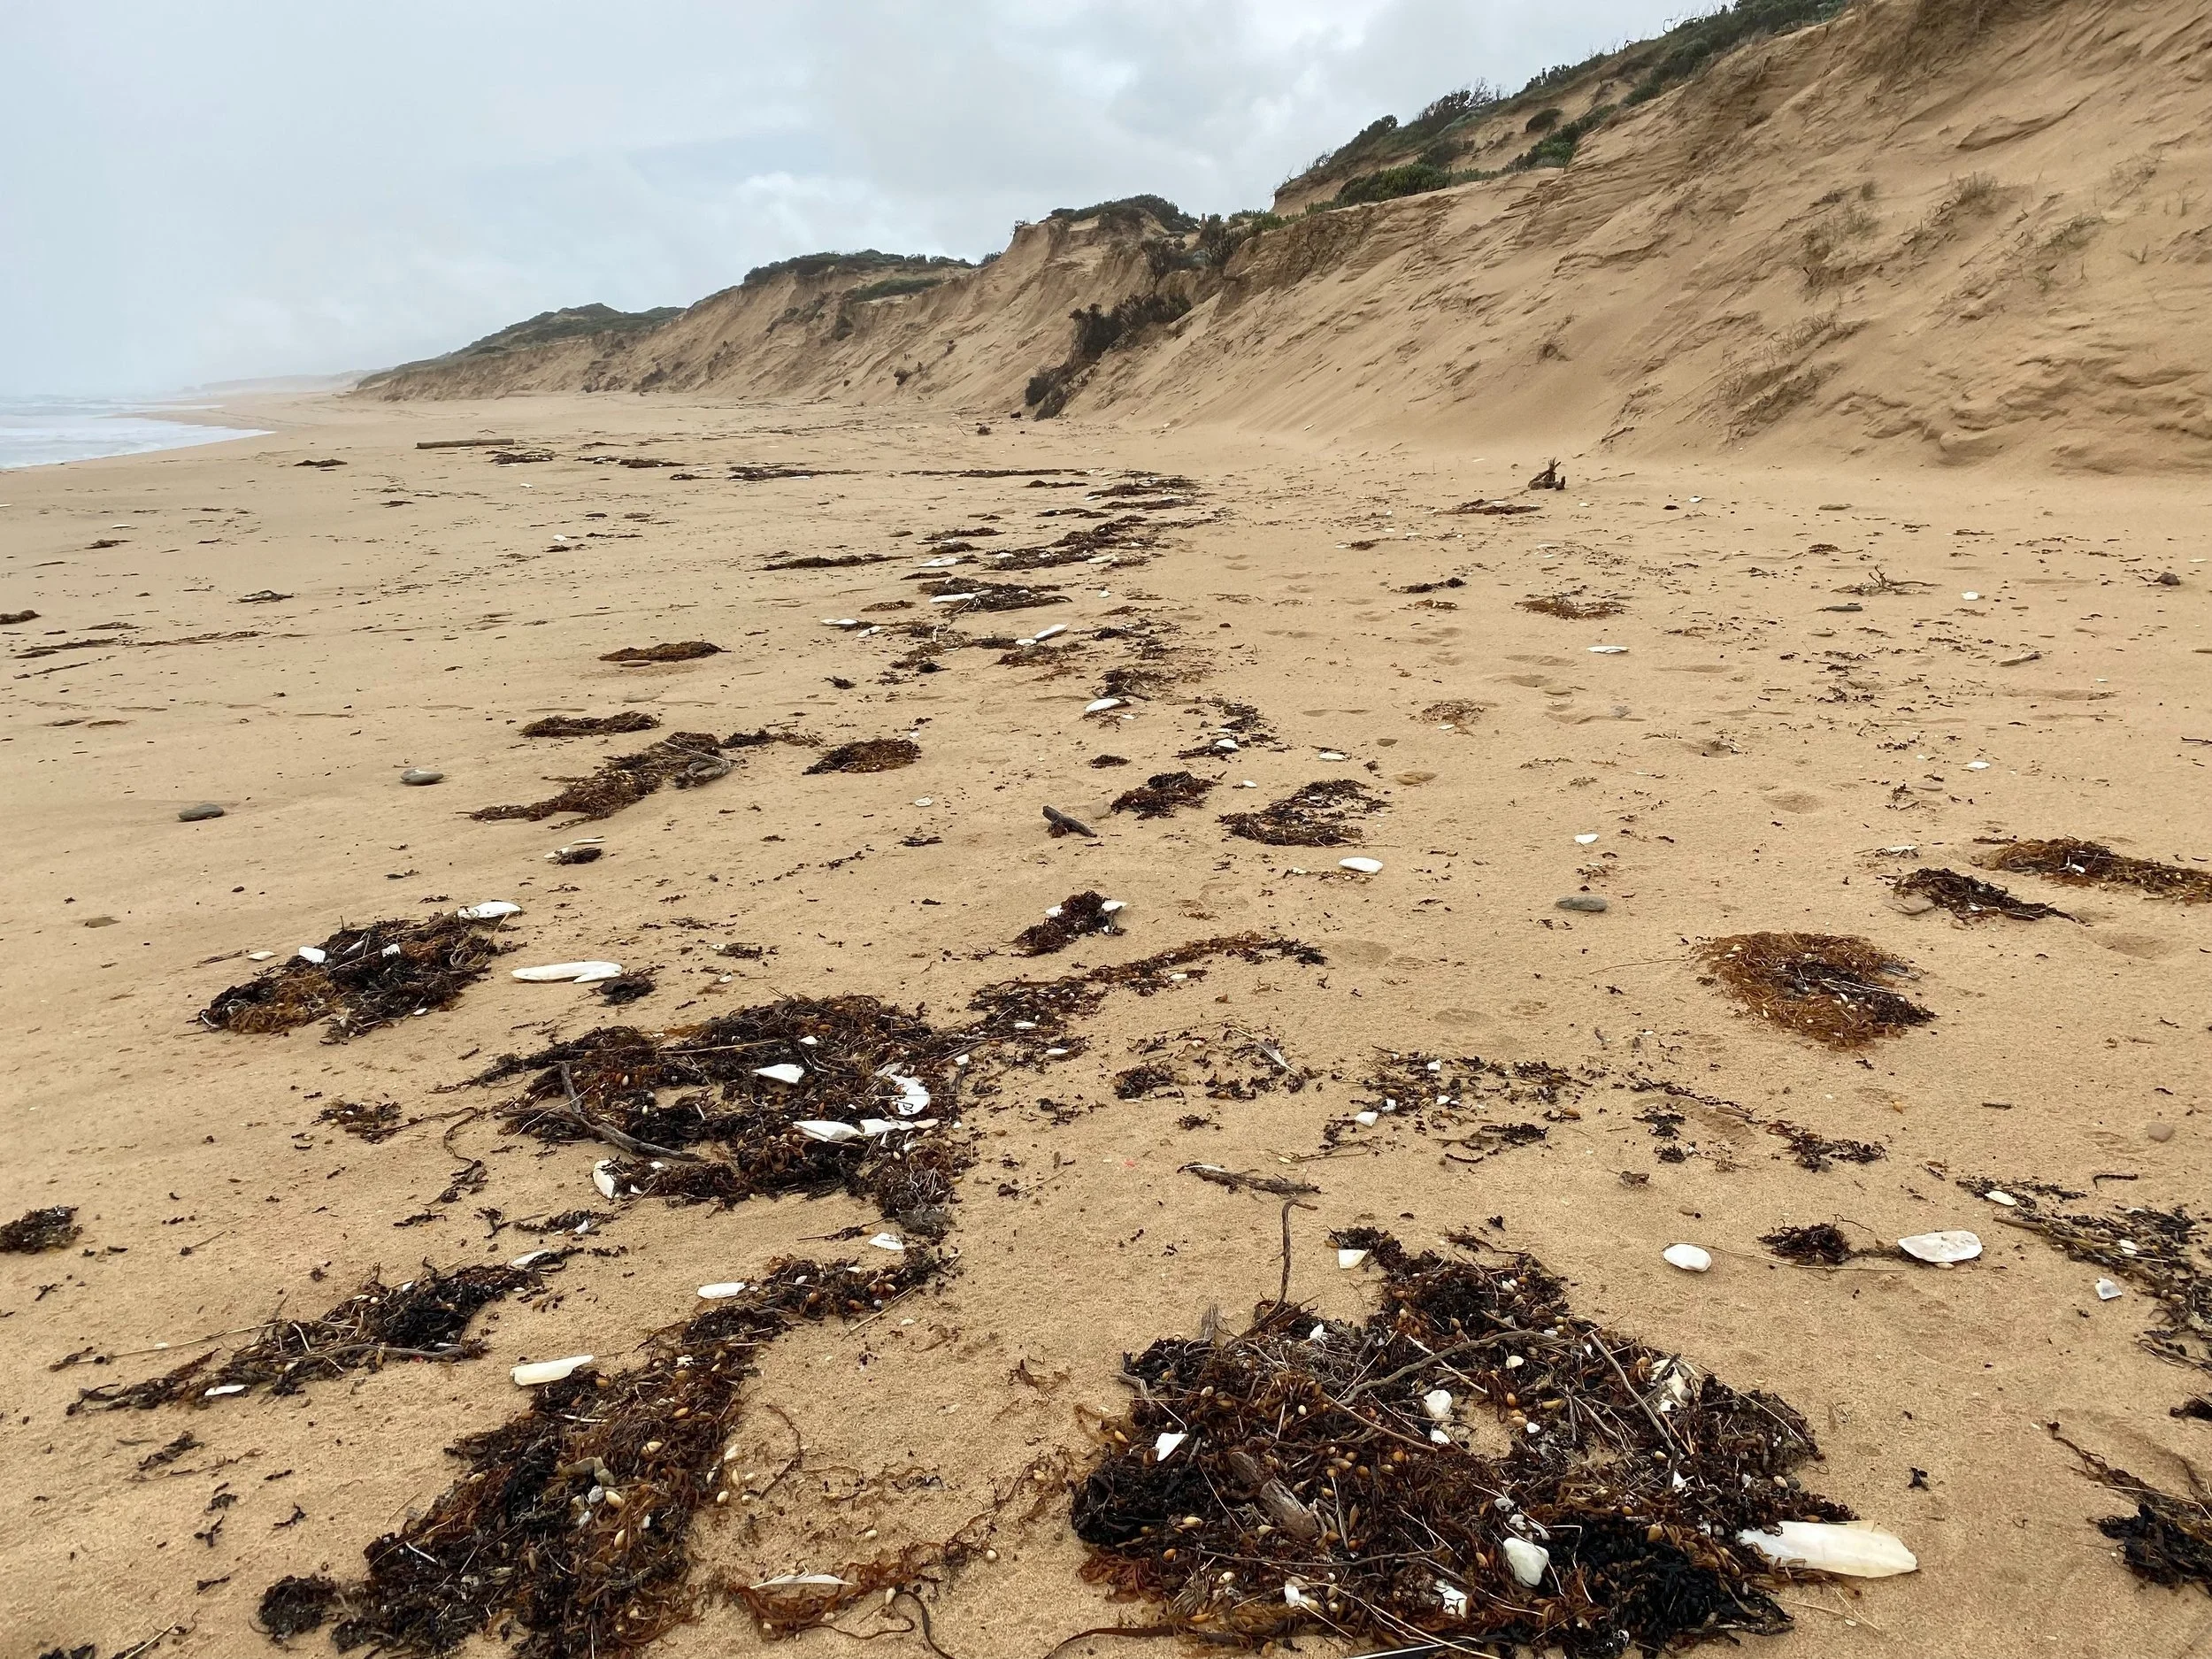

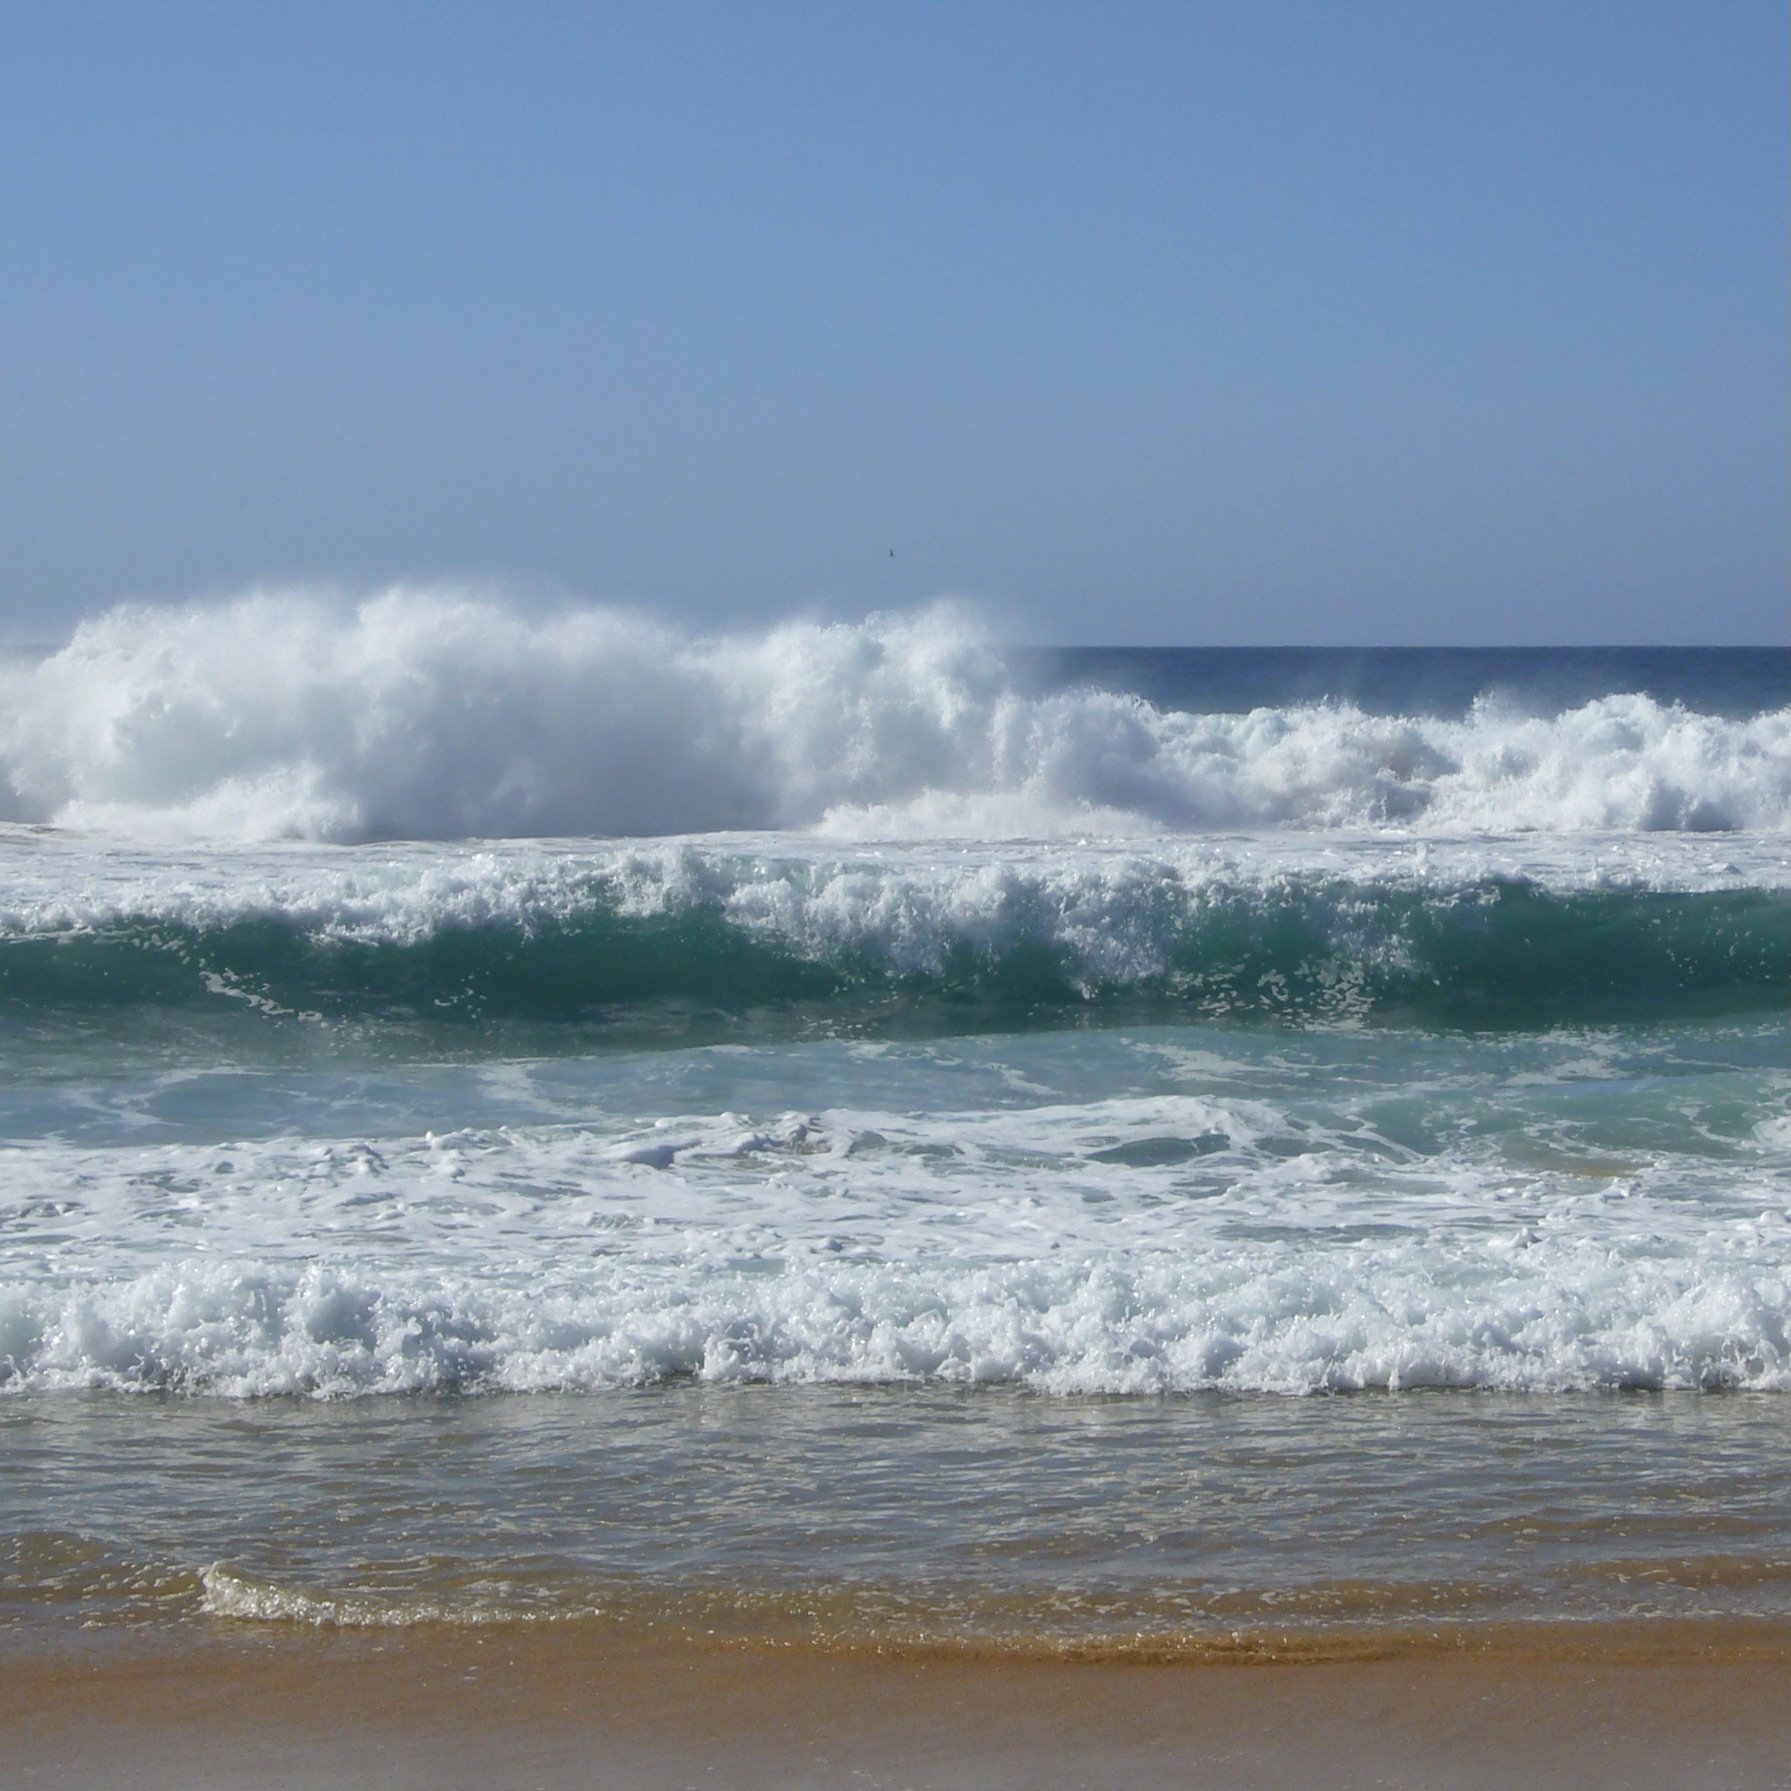
Cuttlefish bone is the back plate of the ordinary squid or Sepia. Cuttlefish bone casting is an ancient technique that is still practised by artisans world wide. To find the cuttlefish bone as you see it in this picture, I go walking on the local ocean beaches after a storm when the bones are tossed onto the sand.
People often ask me: “Did you invent this technique?” More surprisingly, the very week I presented at Pecha Kucha I discovered that my mother had the same thought. The answer is: “No, I didn’t.” Though wouldn’t it have been great if I did?
So how old is it? Through online research I’ve found a paper from 2019 that describes the oldest documented finds of objects made with the cuttlefish bone casting technique. The objects were found in a burial ground in Germany in a grave complex, consisting of about 300 tombs. The complex was built between the first quarter of the 6th century and the middle of the 7th century. Silver buckles were found in two graves in the burial field. On the backside you can see imprints of the casting technique with clear cuttlebone traces.
If you look at the back of some of my works you can see the very same traces or indicators that show the works were made using this ancient technique.
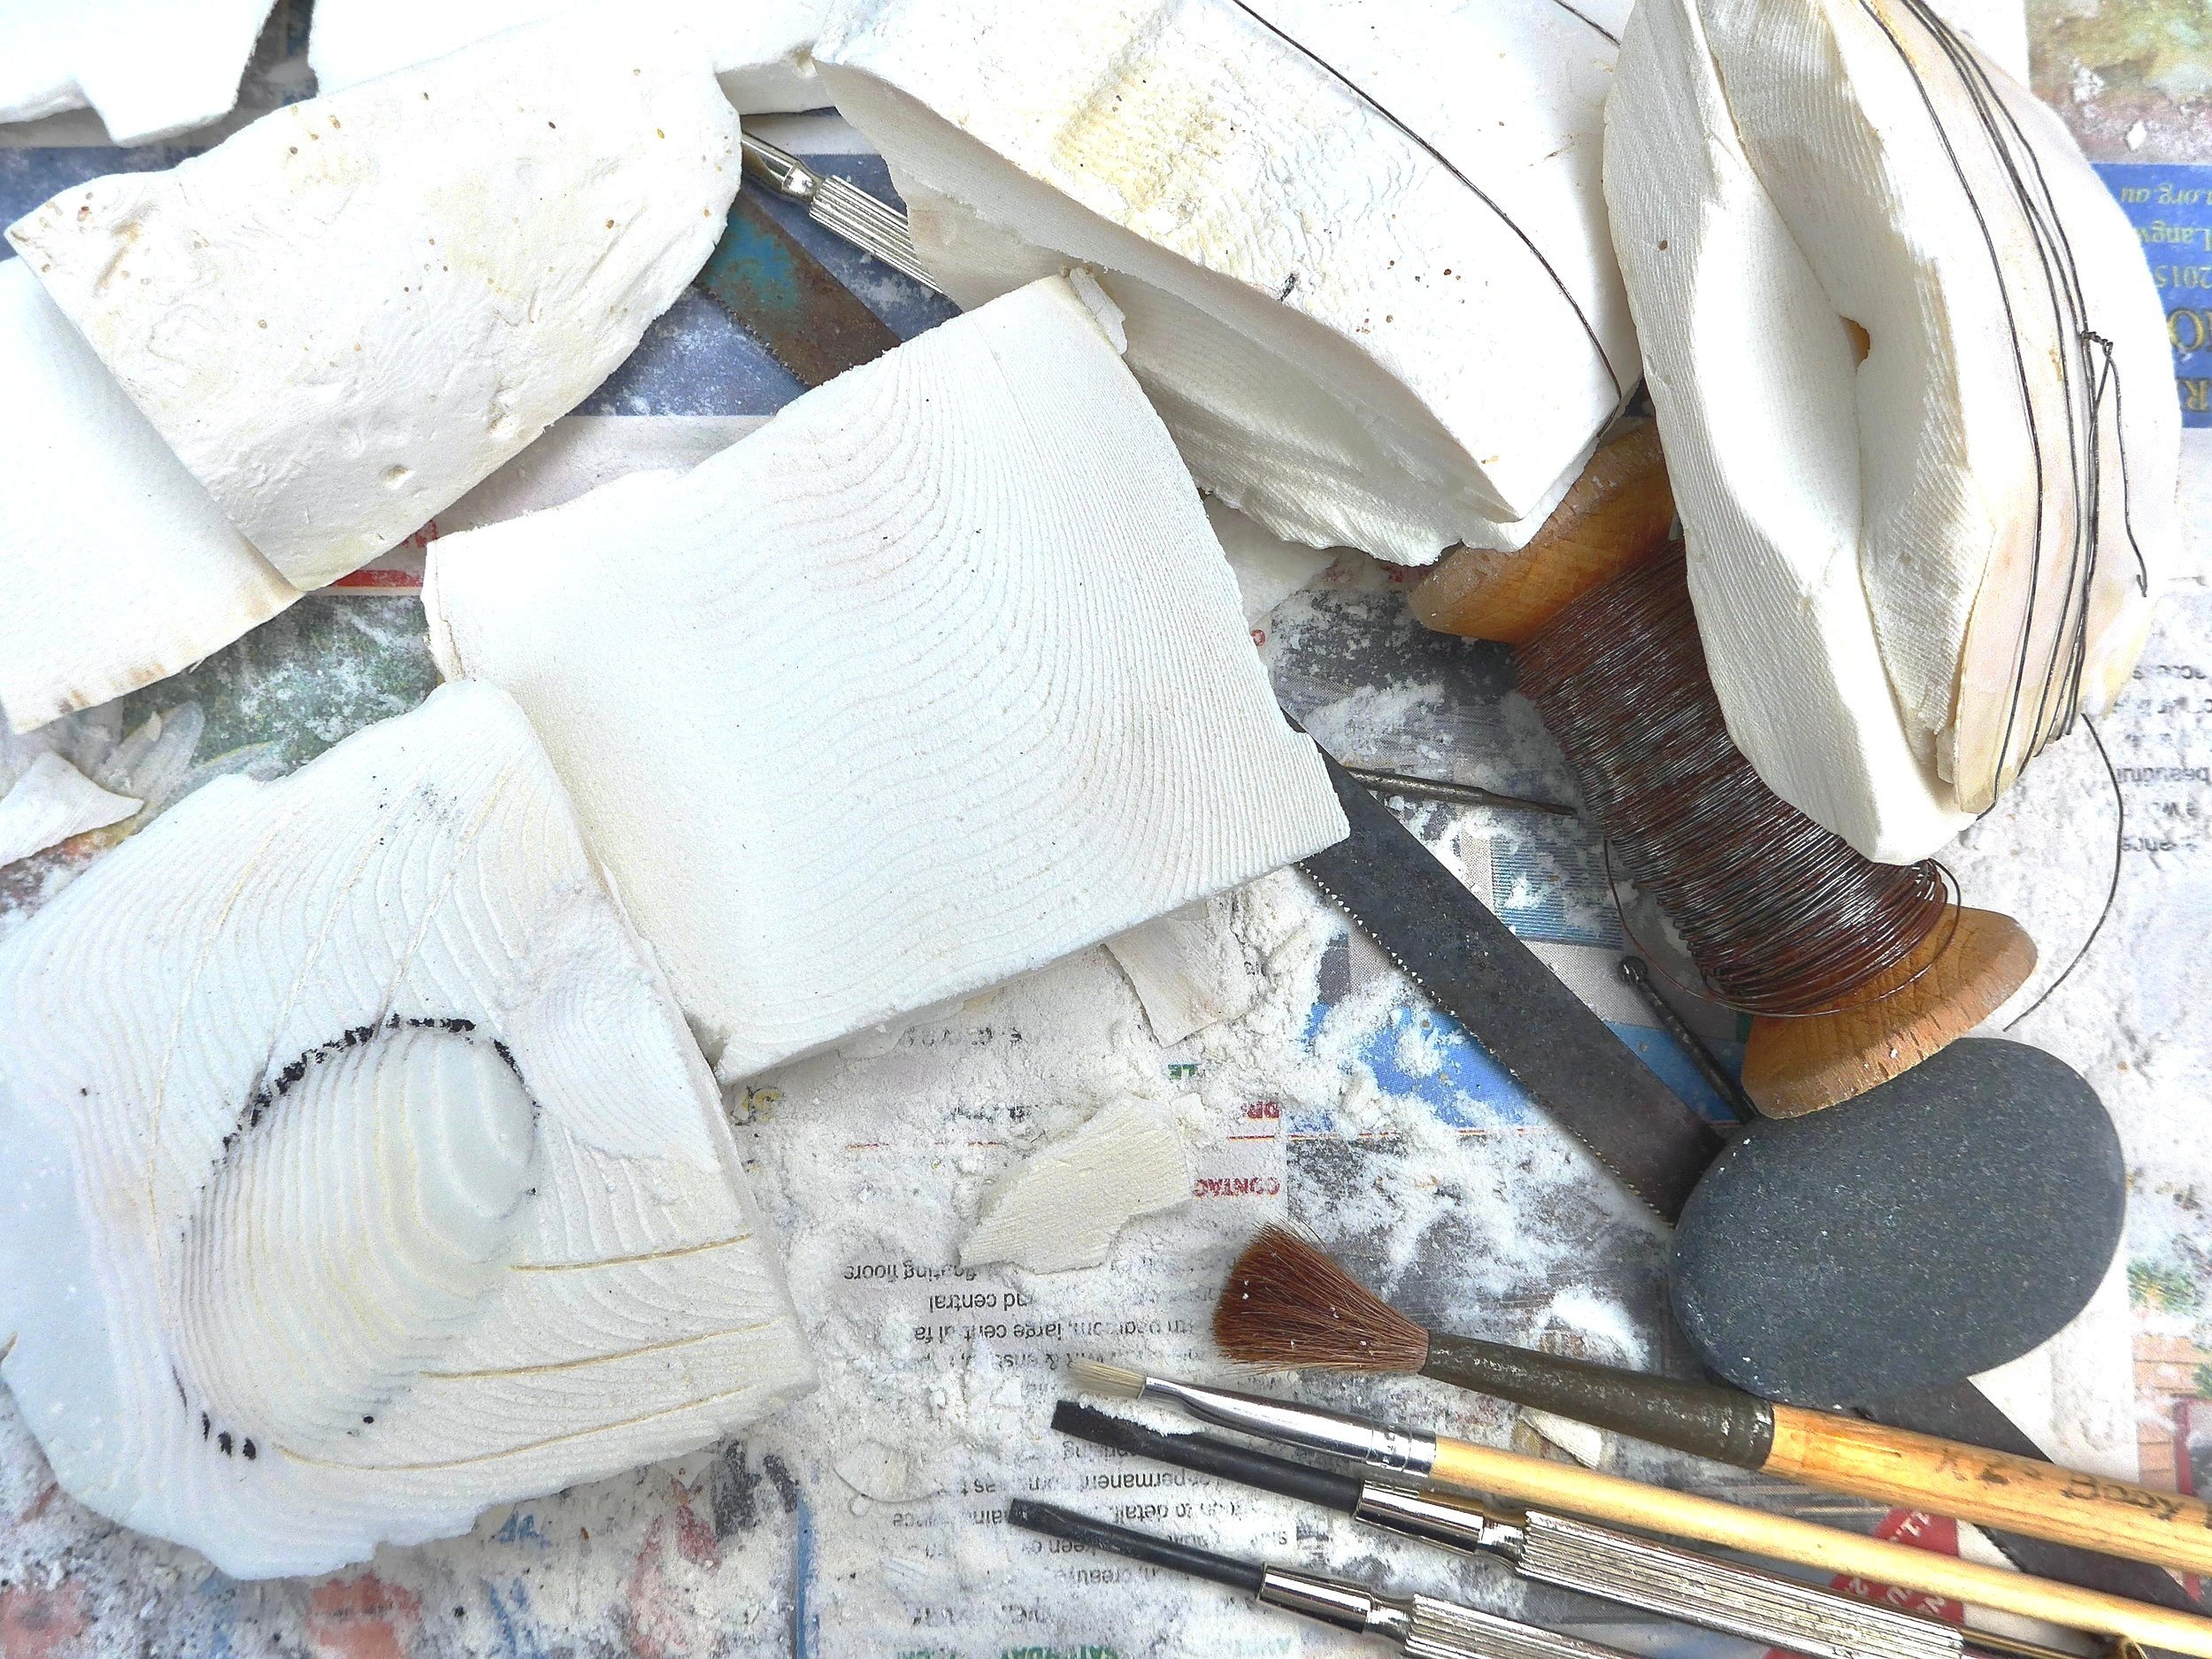
Cuttlefish bone + some of the basic tools I use © Katrina Newman
When preparing a cast, I use a handful of basic tools. Starting with a hack saw blade I cut each piece in half. I then rub the two halves together to create a surface that is flat enough so no light is visible between them.
Some artisans will use an object to press into the cuttlefish bone to create the mold. I carve the cuttlefish bone using tools like small jewellers screw drivers, pebbles, jewellers burrs and a paint brush to brush away the dust to create the highlighted feature that often becomes a significant part of the finished art work.
People appear to be concerned about the dust that is produced when preparing a cuttlefish bone mold. Cuttlefish bone is 80 to 85% calcium carbonate in the form of fine aragonite crystals and 10 - 15% of collagen proteins. Reference Cuttlefish Bone Casting: Theory of Mold Making, Design Possibilities, Practical Casting Technique and Analysis Margaretha Held Jewelry & Object Design Durlangen, Germany. 2019
I usually prepare the molds outdoors to avoid the dust in my studio, however, with all the rain we have been experiencing recently I have found it necessary to set up a small table in my studio to do the carving.
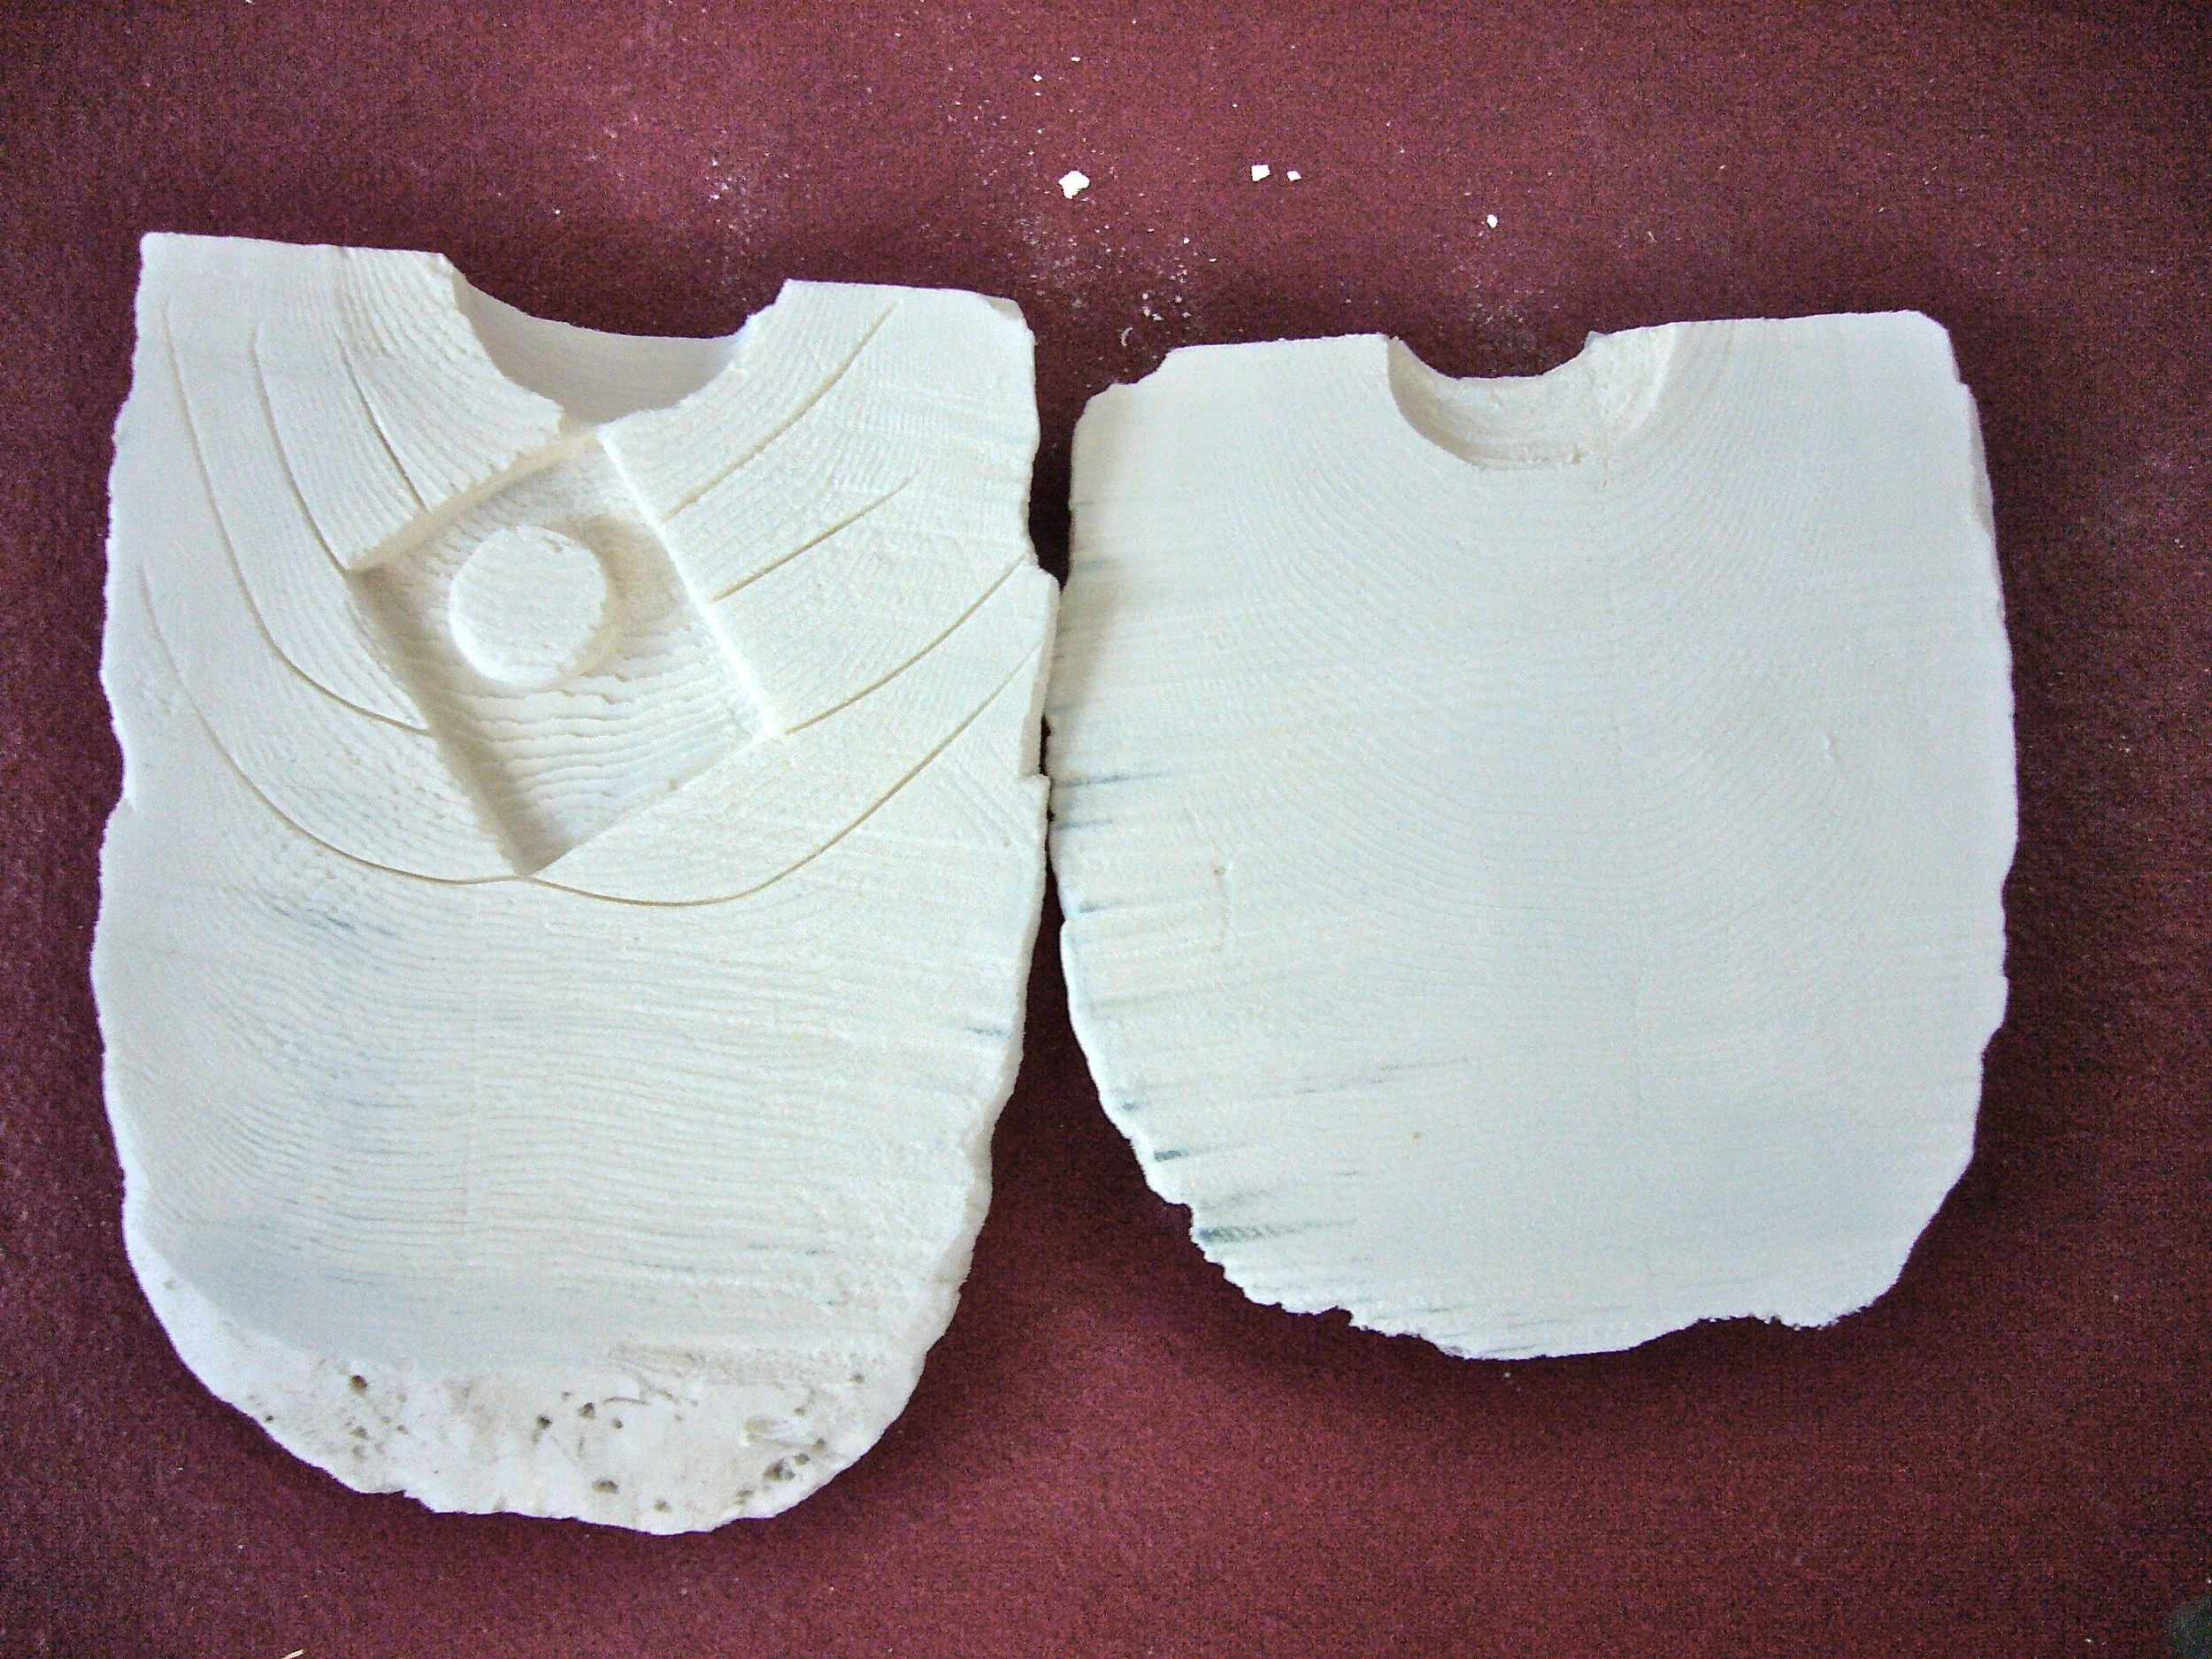
A prepared cuttlefish bone mold © Katrina Newman
This is a prepared open mold for a square ring that I made. You can clearly see the funnel and the vents that allow the air to escape as the metal is poured into the mold.
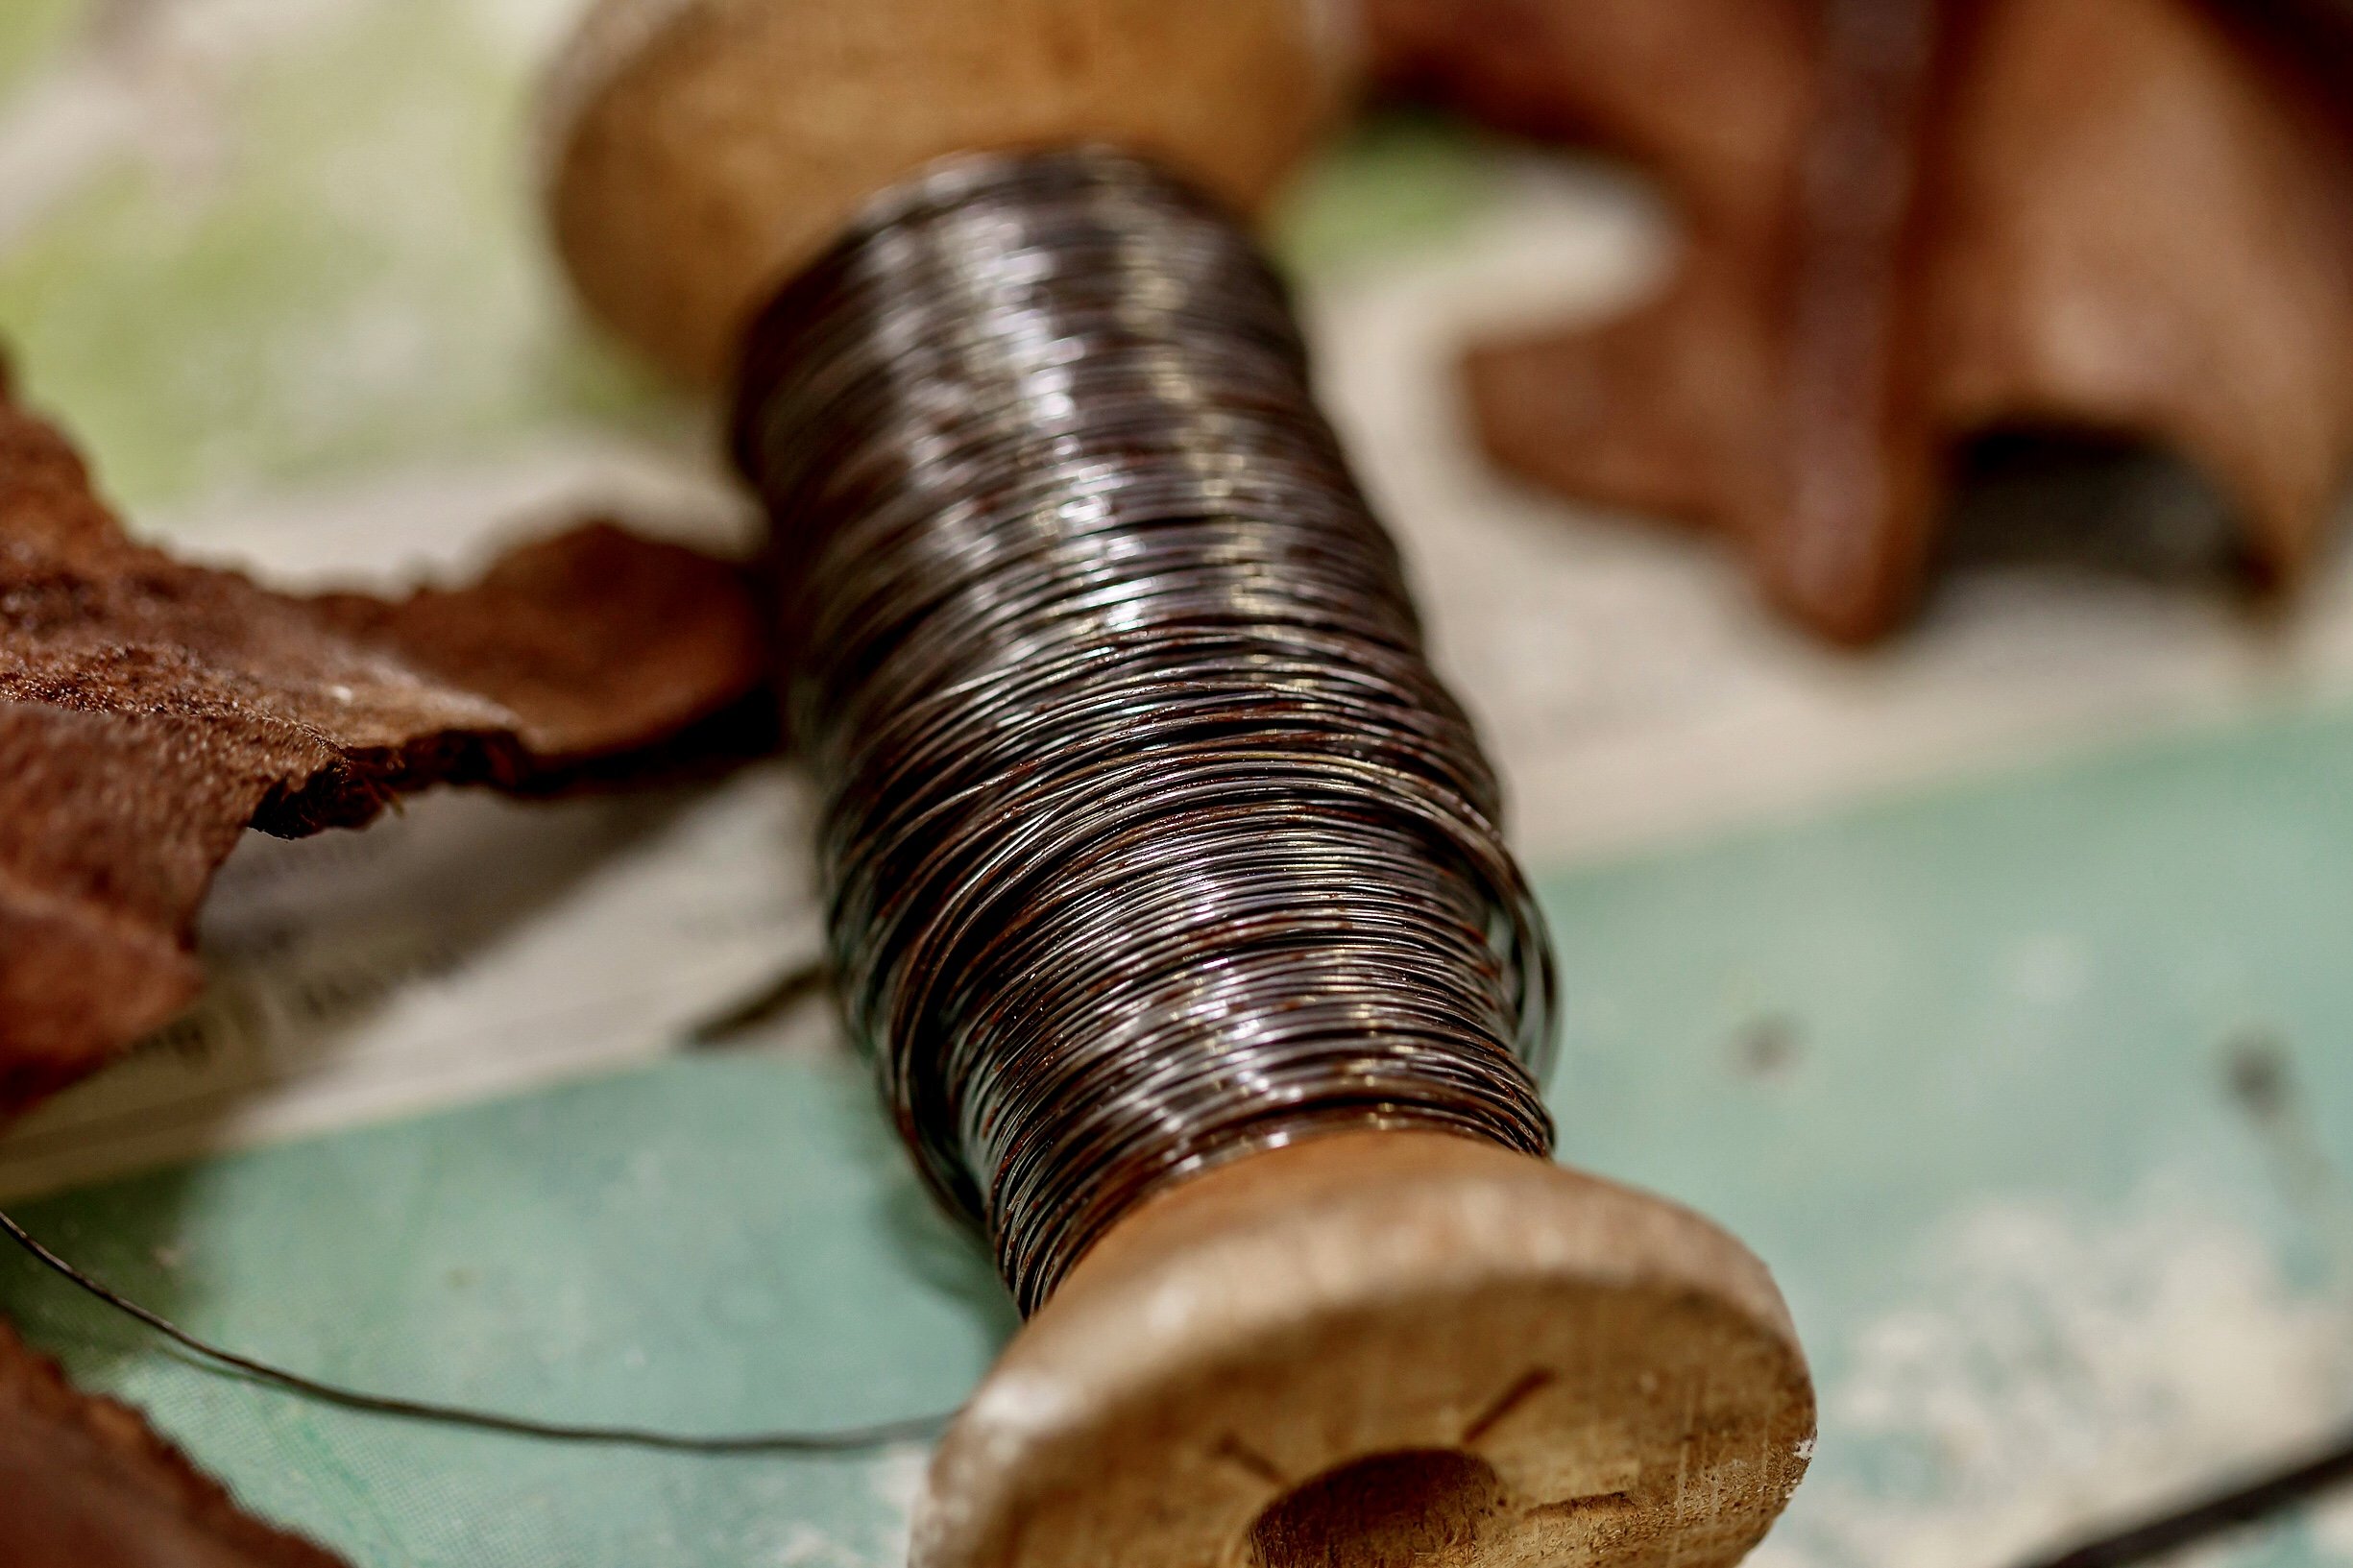
Binding wire © Katrina Newman
I use Binding wire to hold the cuttlefish bone in position while I pour the molten metal into the mold. Binding wire is used in jewellery making to hold pieces in place while they’re being soldered, and of course in cuttlefish casting.
I did try using tape once and I can assure you it was not a good idea as the tape burned away allowing for the precious metal to escape.

The mold ready to cast © Ronni Spencer
This is a finished mold waiting to be cast. You can see the funnel and the binding wire holding it together. Shortly you’ll see both the raw and finished pendant that was the product of this cast.

Pumice stone © Katrina Newman
To hold the mold in place while casting I use a bed of pumice stone. I’ve collected the pumice from beaches in NSW and Queensland. However, it’s also available from jewellers supply stores and horticultural suppliers. The pumice I’m using at the moment is quite large, ranging from 1cm to 5 cm.

Crucible melt © Katrina Newman
I melt the sterling silver or gold in porcelain crucibles coated with borax. Here you can see the beginning of a melt using some sterling silver granules.

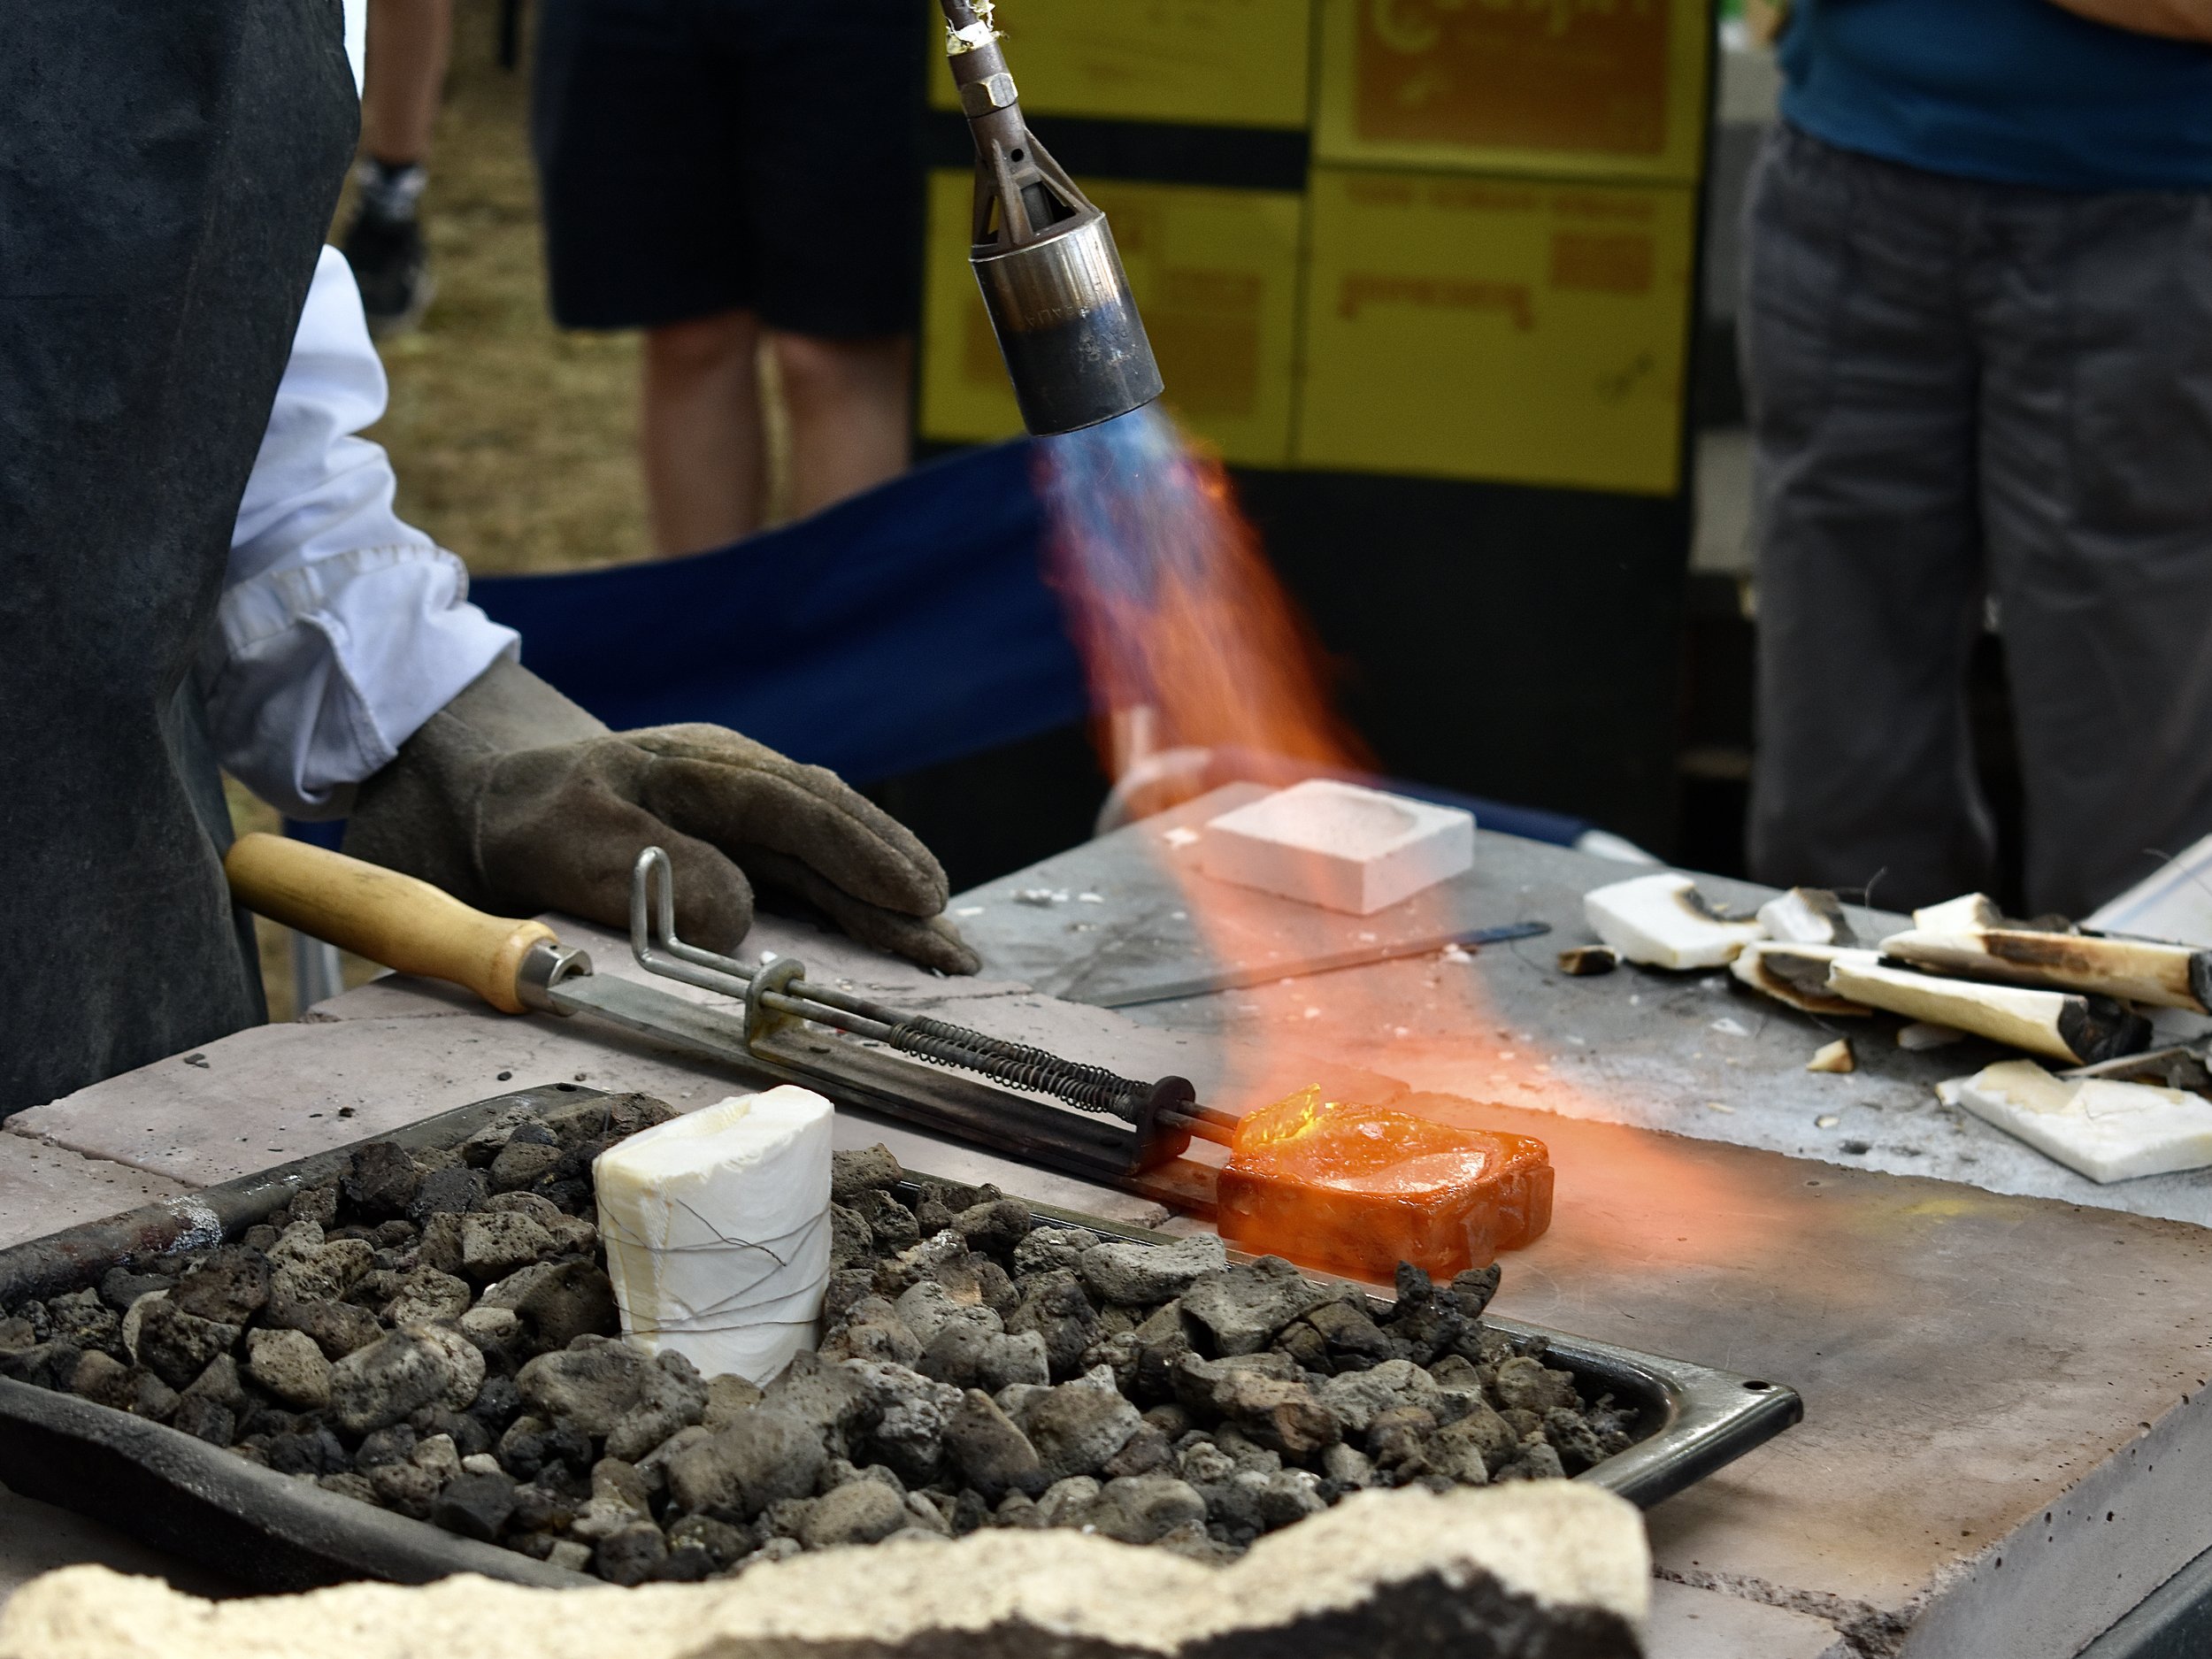

For many years I used propane alone with a large noisy torch that produced intense heat. It took a considerable amount of time to get the metal sufficiently molten for a successful pour. I had to wear the protective clothing you see here to lessen the impact of the heat from the torch, but in spite of that I would often be drenched in sweat by the end of a melt. In 2019 I invested in a propane and oxygen torch which is much quieter, and more efficient. While I would advise anyone starting out to wear a leather apron and gloves, I often skip the occupational safety of these items in favour of a quick melt. Do not try this at home.
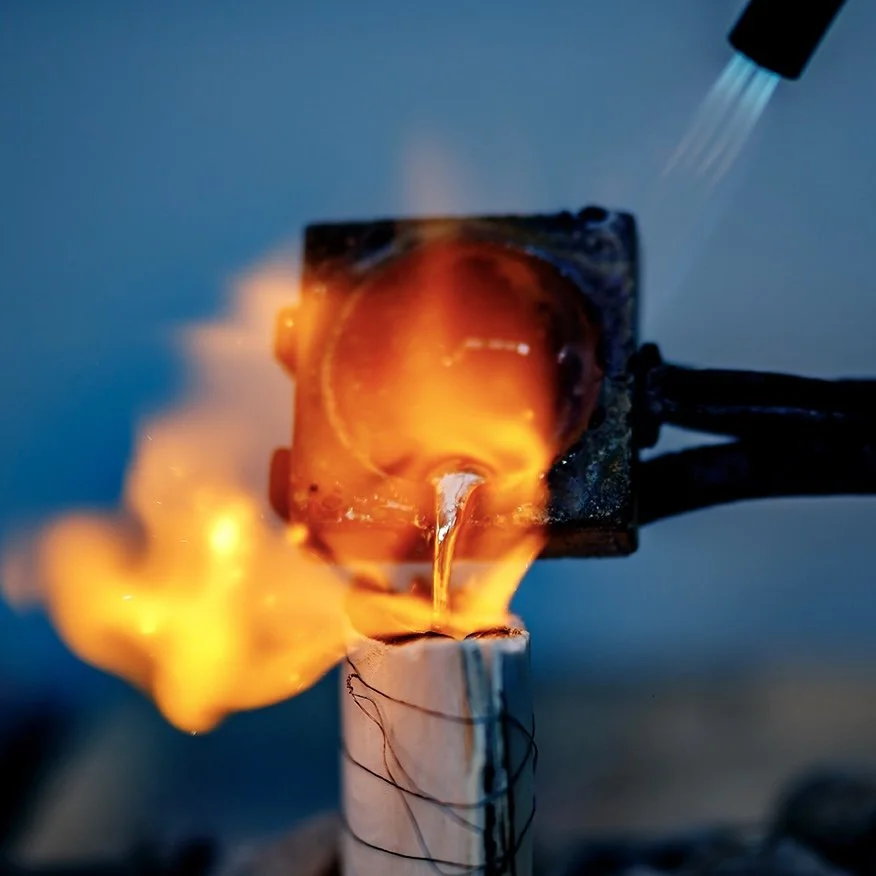
Pouring silver into the cuttlefish mold © Katrina Newman
The actual moment of casting is a fine balancing act between giving priority to the gas torch, the molten metal remaining at the right temperature as I pour it into the funnel, and my safety. I sometimes struggle to keep my hands steady enough as I pour the glistening molten silver into the mold. It takes practice, and after years of doing it I still spill the metal into the tray quite frequently. I feel this photo makes it look easy and captures the excitement and intensity of the process.
An interesting fact for you is that sterling silver melts at 890 degree Celsius.
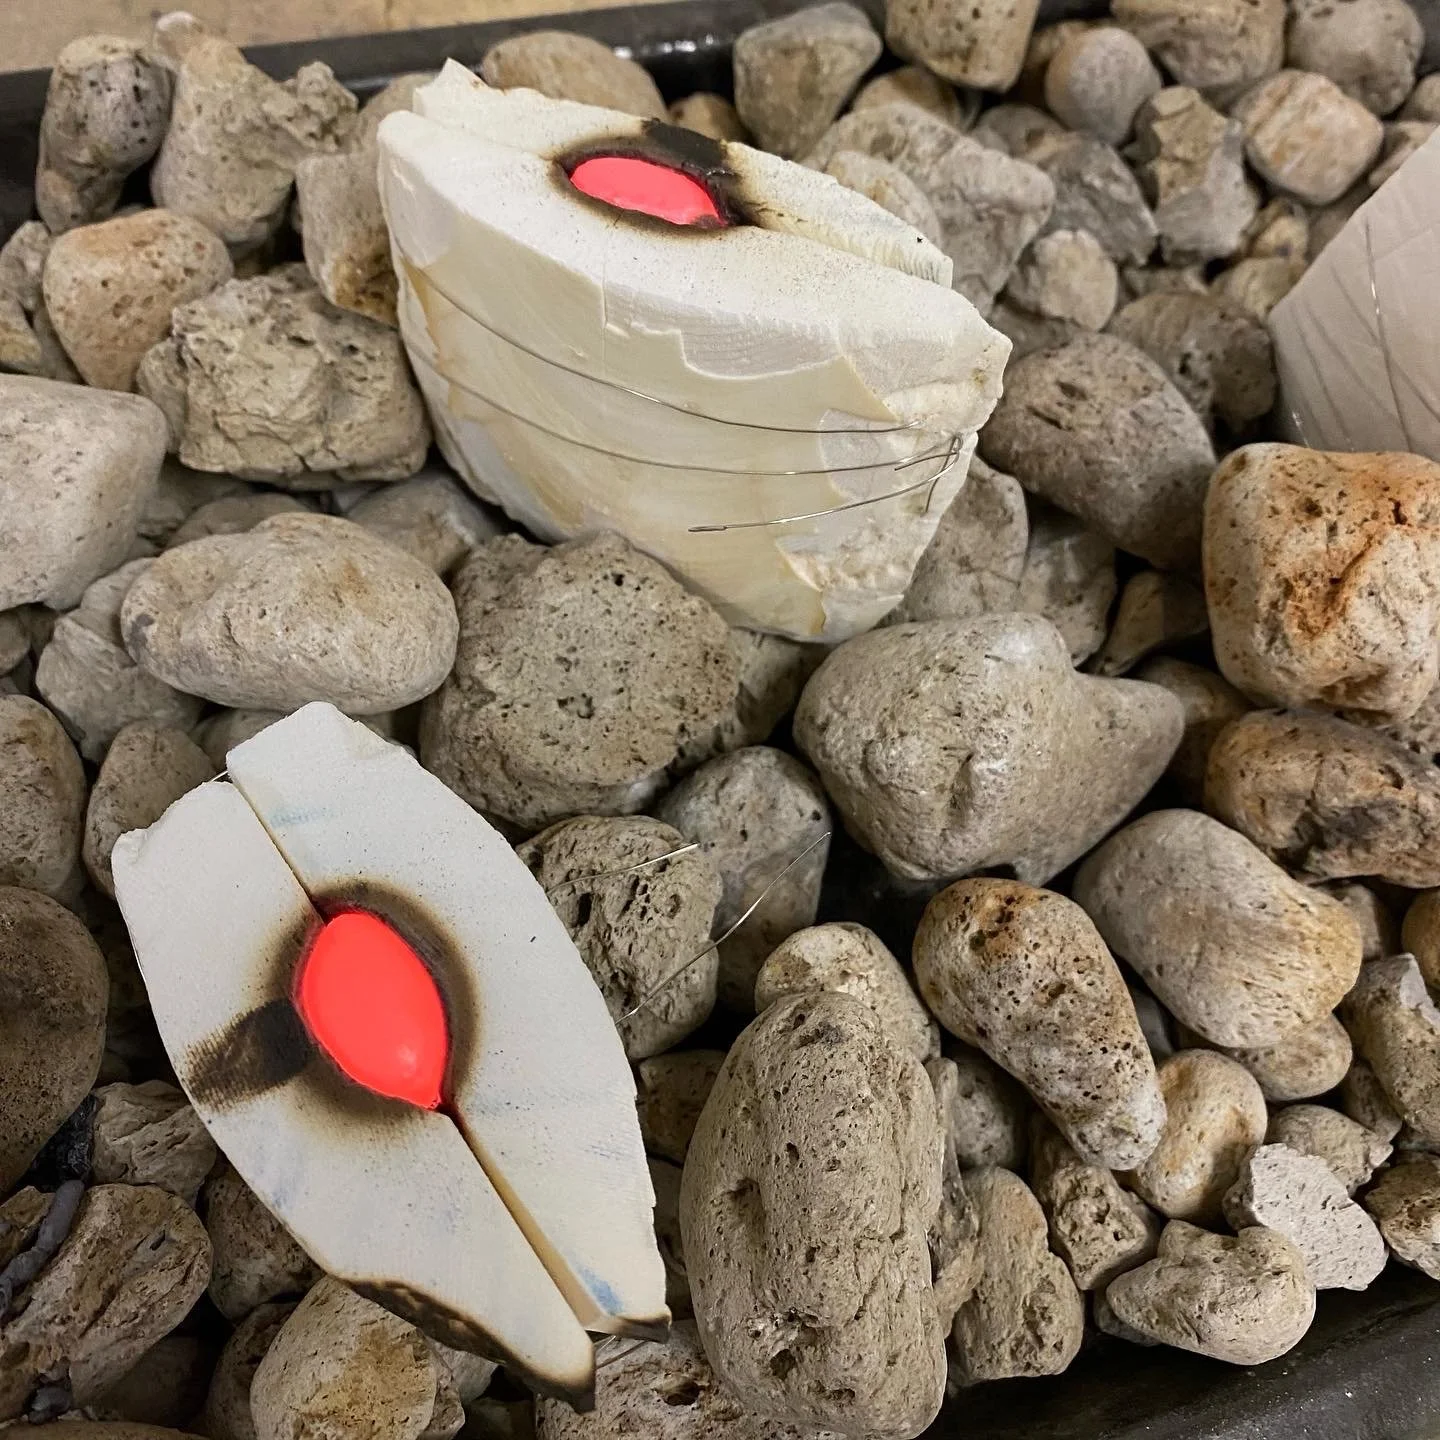
Cuttlefish bone molds cooling © Katrina Newman
It’s important to leave the cuttlefish cast to cool before opening the mold. It will glow red hot as it cools, then turns grey as it crackles and hardens. When it’s cool enough I carefully remove the cast and plunge it into cold water.

Open cuttlefish mold with raw cast © Katrina Newman
Above is a mold immediately following the cooling of the metal. Next to it you can see the raw or crude cast. The cuttlefish bone is burnt and therefore no longer usable for future casting. I enjoy practising this technique so much as I only make one-off works of art. You can see the very crude cast on the left and that some of the vents have filled with silver. The funnel or sprue is still connected.

Some of the tools I use © Katrina Newman
The cuttlefish casting process is the easy part of my work. It’s when I’m back at my jewellers bench that the hard work actually begins. I start with a heavy duty file, then work through a combination of files, and emery paper before a final two stage polish to get the refined finish.

Progress photo of pendant © Katrina Newman
This is a progress photo of the pendant from the cast you saw previously. I’m still working on the basic form of the pendant. I’m very exacting, which is a reflection on how I was taught by Ragnar Hansen at Canberra School of Art. The right angles need to be exactly squared, in other words, perfect, before the work is ready to be finished. All of this is done by hand.

Gorge sterling silver pendant © Katrina Newman
Here you can see the final pendant. This pendant was cast during a demonstration at my home studio, however, it took me many months to finish as I thought long and hard about its final shape and structure. It remains one of my favourite pieces.
Making my jewellery is like taking a journey. It’s a spontaneous creative process of refining raw cuttlefish casts into beautiful contemporary jewellery that you feel proud to wear.

Raw cuttlefish casts of pendant and ring © Katrina Newman
These two raw cuttlefish bone casts I’ll use to demonstrate some before and after pictures of my work. As you can see, the funnels are still attached. These pieces will become a ring and pendant, as is evident in the next photos.

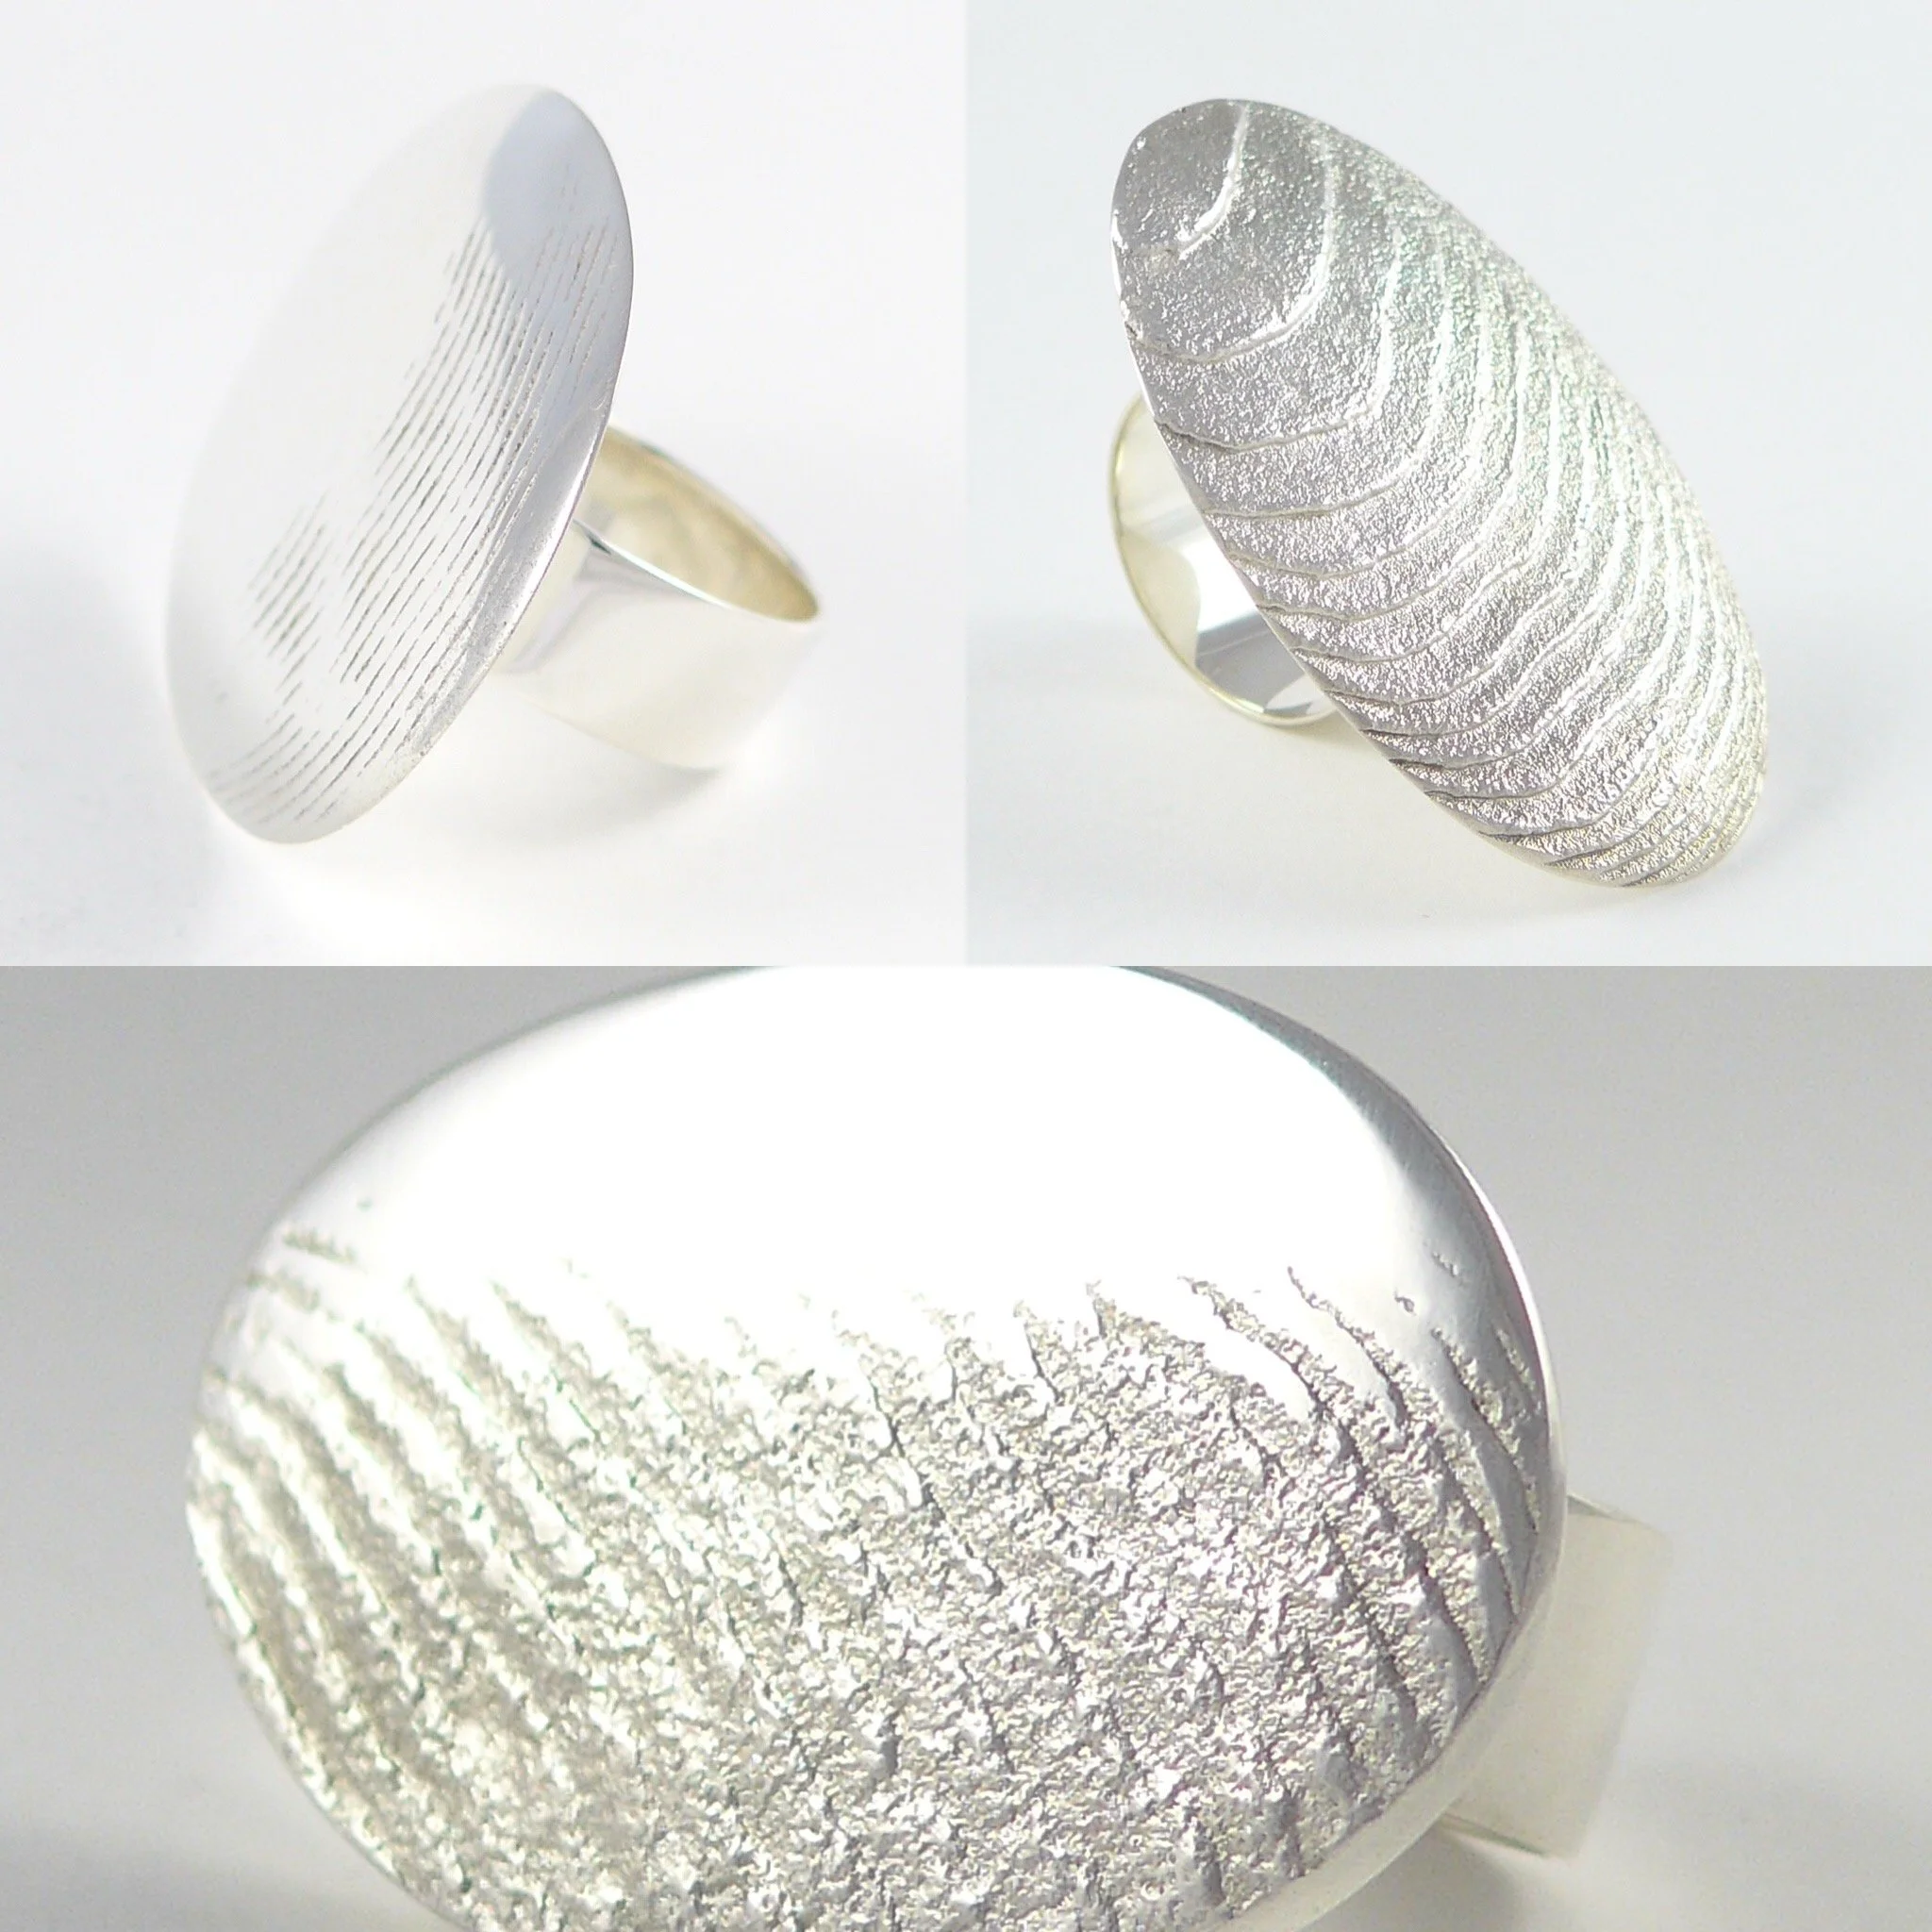
I use the cuttlefish bone to create a unique feature that reflects the influences on my work: for example, the sea, the sands, and objects that can be found on the shore. My jewellery captures my sense of place and my relationship to the natural beauty of Australia.


This ring and pendant demonstrate the refined and modern approach I bring to this ancient technique alongside my connection with the sea.